Interval Training on Apple Watch: The Complete Guide
You’re probably reading this because your Apple Watch can track a workout, but it still doesn’t feel like a real interval coach. You start a hard rep, glance down for the timer, try to mark a split, miss the haptic cue, and then spend the recovery staring at your wrist instead of breathing. That’s the gap between casual workout logging and interval training that flows.
The good news is that the Apple Watch can do much more than most athletes use. The bad news is that some of the most useful parts are hidden behind awkward taps, imperfect defaults, and a few real limitations that matter when your intervals get short and your effort gets high.
The difference comes from workflow. Native workouts are fine for many sessions. Custom workouts are better. Third-party apps can fix specific pain points. And if you’re planning a lot of structured sessions, text-based tools can remove the menu-tapping entirely. That’s where interval training on Apple Watch starts to feel less like device management and more like training.
Table of Contents
- From Frustration to Flow State with Your Apple Watch
- Getting Started with Native Interval Workouts
- Building Precision Custom Workouts for Specific Goals
- Beyond the Basics with Third-Party Workout Apps
- The Pro Workflow with Text-Based Workout Syncing
- Analyzing Your Performance and Training Load
- Troubleshooting Common Issues and Pro Tips
From Frustration to Flow State with Your Apple Watch
Most athletes hit the same wall with interval training on Apple Watch. The watch is excellent at recording what happened, but during the workout it can feel one beat behind you. That matters when the whole point of the session is precise timing.
A common example is a track-style session done manually in the native Workout app. You start a run, double tap to mark segments, try to glance at heart rate during recovery, and then realize you’ve spent half the rep interacting with the watch. The harder the session gets, the more those little frictions stack up.
The problem isn’t that the watch can’t handle intervals. It’s that many people ask it to do two jobs at once. They want it to be a timer, a logbook, a cueing device, and a live dashboard, all while they’re breathing hard and moving fast.
Practical rule: If you have to think about your watch during the work interval, your setup is wrong.
The fix is to stop treating every interval workout the same. A basic HIIT session, a structured running workout, a bike session with recoveries, and a coach-prescribed pyramid all need different levels of setup. Some belong in the native app. Some work better in a specialized app. Some are faster to create from plain text than from any tap-based builder.
That’s the shift from frustration to flow. You preload the workout. You rely on haptics and simple screens. You decide in advance whether the session needs native simplicity or deeper control. Once that’s dialed in, the watch stops interrupting the workout and starts supporting it.
Getting Started with Native Interval Workouts
Why the native app matters first
The native Workout app is still the right place to start, even if you eventually outgrow it. Apple formally introduced HIIT as a distinct workout type in watchOS 4 in September 2017, which marked the point where the watch moved beyond generic heart rate tracking and into an interval-specific approach tuned for rapid heart rate swings, as described in this watchOS 4 HIIT overview.
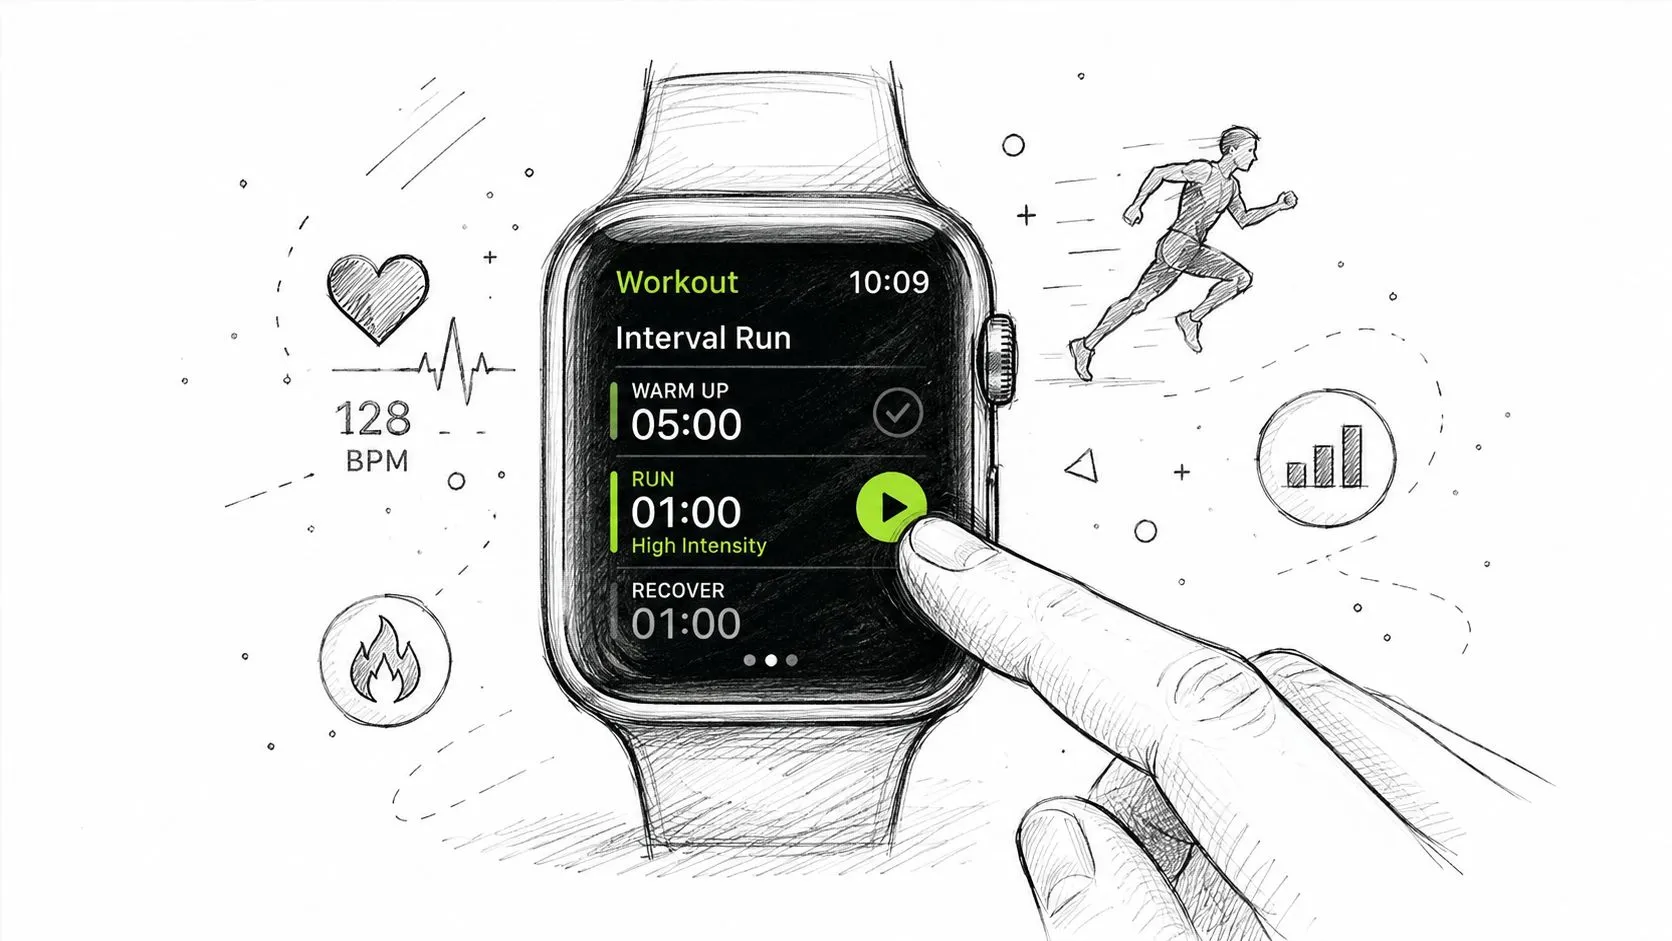
That history matters because it explains why the Apple Watch handles interval-style effort better than many people assume. It does more than time blocks. It tries to interpret repeated surges and recoveries with a wrist sensor that has to keep up with a messy real-world motion pattern.
If you’re still learning the basics of structured hard-easy sessions, it helps to understand the broader advantages of interval training before you start layering in more complex watch workflows.
How to start a basic interval session
If your workout is simple and you don’t need detailed step-by-step prompting, the quickest setup is often the built-in HIIT workout type.
On the watch:
- Open Workout.
- Scroll to HIIT.
- Tap to start.
- During the session, use the standard workout controls for pause, resume, and end.
- Review the session afterward in the Fitness app.
This works well for circuit sessions, indoor intervals, and any day when exact split structure matters less than keeping the effort high and the transitions simple.
Where athletes get frustrated is trying to use the plain HIIT mode for a workout that needs preplanned steps. If you already know you need a warm-up, a repeating work/recovery block, and a cool-down, skip the generic mode and build it as a custom workout instead.
How to create a custom workout
Custom workouts are where interval training on Apple Watch starts to become useful.
The exact interface can vary by watchOS version, but the practical workflow is consistent:
- Choose the sport first: Build the workout under running, cycling, or another relevant activity instead of forcing everything into HIIT.
- Add a warm-up: Don’t make the first hard rep your first recorded effort block.
- Create repeat blocks: This is the heart of the workout. Add work and recovery steps in a repeatable sequence.
- Finish with a cool-down: It keeps the session clean in your logs and makes post-workout review easier.
A simple custom running session might be built as warm-up, repeated hard efforts with easy recoveries, then cool-down. A cycling version follows the same logic, but the targets you care about may be different.
Later in the setup, this walkthrough helps show the structure on screen:
Native custom workouts work best when you keep the watch screen simple. Pick the data fields you’ll use. For most interval days, that means elapsed interval time, heart rate, and one performance metric tied to the session, such as pace for running or cadence for cycling. If you clutter the screen, you’ll look down more often and miss the feel of the workout.
The best native setup is usually the one that leaves you with the fewest decisions during the rep.
Building Precision Custom Workouts for Specific Goals
Build the session around the outcome
A good interval workout is more than a stack of hard and easy blocks. It should match the reason you’re doing it. That’s where many Apple Watch users go wrong. They build a generic timer, then try to force a specific training goal into it.
Start with the session intent. If you want short power work, use short work intervals and clean recoveries. If you want threshold control, use longer work blocks and simpler targets. If the day is about fat loss, the benchmark setup is more specific. For fat-loss-focused interval training on Apple Watch, work intervals of 20 to 40 seconds at near-maximum effort paired with equal or slightly shorter recovery, using a 1:1 or 2:1 work-to-rest ratio across 8 to 12 rounds performed 2 to 3 times weekly, is the cited configuration in this interval benchmark reference.
That doesn’t mean every athlete should jump straight into the hardest version. It means the workout builder should reflect the training purpose instead of becoming a random sequence of timers.
Examples that work on the wrist
A few structures translate well to Apple Watch because they’re easy to cue and easy to follow under fatigue.
- Classic short intervals: Warm-up, then repeated short work and recovery blocks. This is ideal when you want the watch to give clean cues and get out of the way.
- Pyramid session: Build ascending work intervals, then descend back down. This is useful when you want variety without constantly thinking about the next step.
- Tabata-style session: Short, sharp intervals work well if the watch is already preloaded and you’re not trying to tap mid-session.
The key is to keep each step obvious enough that haptic feedback does most of the communication. If you need to read detailed on-screen instructions while gasping, the structure is too fussy for the wrist.
Here’s a practical way to approach this:
| Session type | Good Apple Watch use case | Main caution |
|---|---|---|
| Short repeats | Running, cycling, indoor cardio | Don’t overload the data screen |
| Pyramids | Moderate-length sessions with clear progression | Build the steps carefully before starting |
| Fat-loss intervals | Simple work/recovery blocks | Manual control of rests is often cleaner |
| Long intervals | Threshold-style sessions | Use fewer metrics, not more |
Targets and cues that reduce screen checking
The best custom workouts aren’t always the most complex. They’re the ones that let you run or ride by feel while the watch automatically enforces structure.
Three settings matter most in practice:
-
Step order
Put the warm-up first, then the main set, then a cool-down. That sounds obvious, but plenty of athletes rush through setup and end up pausing manually between phases.
-
Target choice
For running, pace can work if your environment is stable. For cycling, cadence is often easier to hold consistently than trying to chase changing speed. Heart rate is useful, but it lags on short reps, so don’t make it your only guide for brief intervals.
-
Cue style
Haptics are usually more useful than repeated visual checking. Audio cues can help if you train with earbuds, but they’re less reliable in windy outdoor sessions or busy gyms.
Build the workout so you can execute the rep from feel and use the watch only to confirm, not to decide.
One point from field use matters here. If you care about clean rest accounting, manually pausing and resuming around rest intervals can be more reliable than trusting the watch to smooth everything out on its own. That’s especially true when your session includes unconventional stops or irregular recoveries.
Beyond the Basics with Third-Party Workout Apps
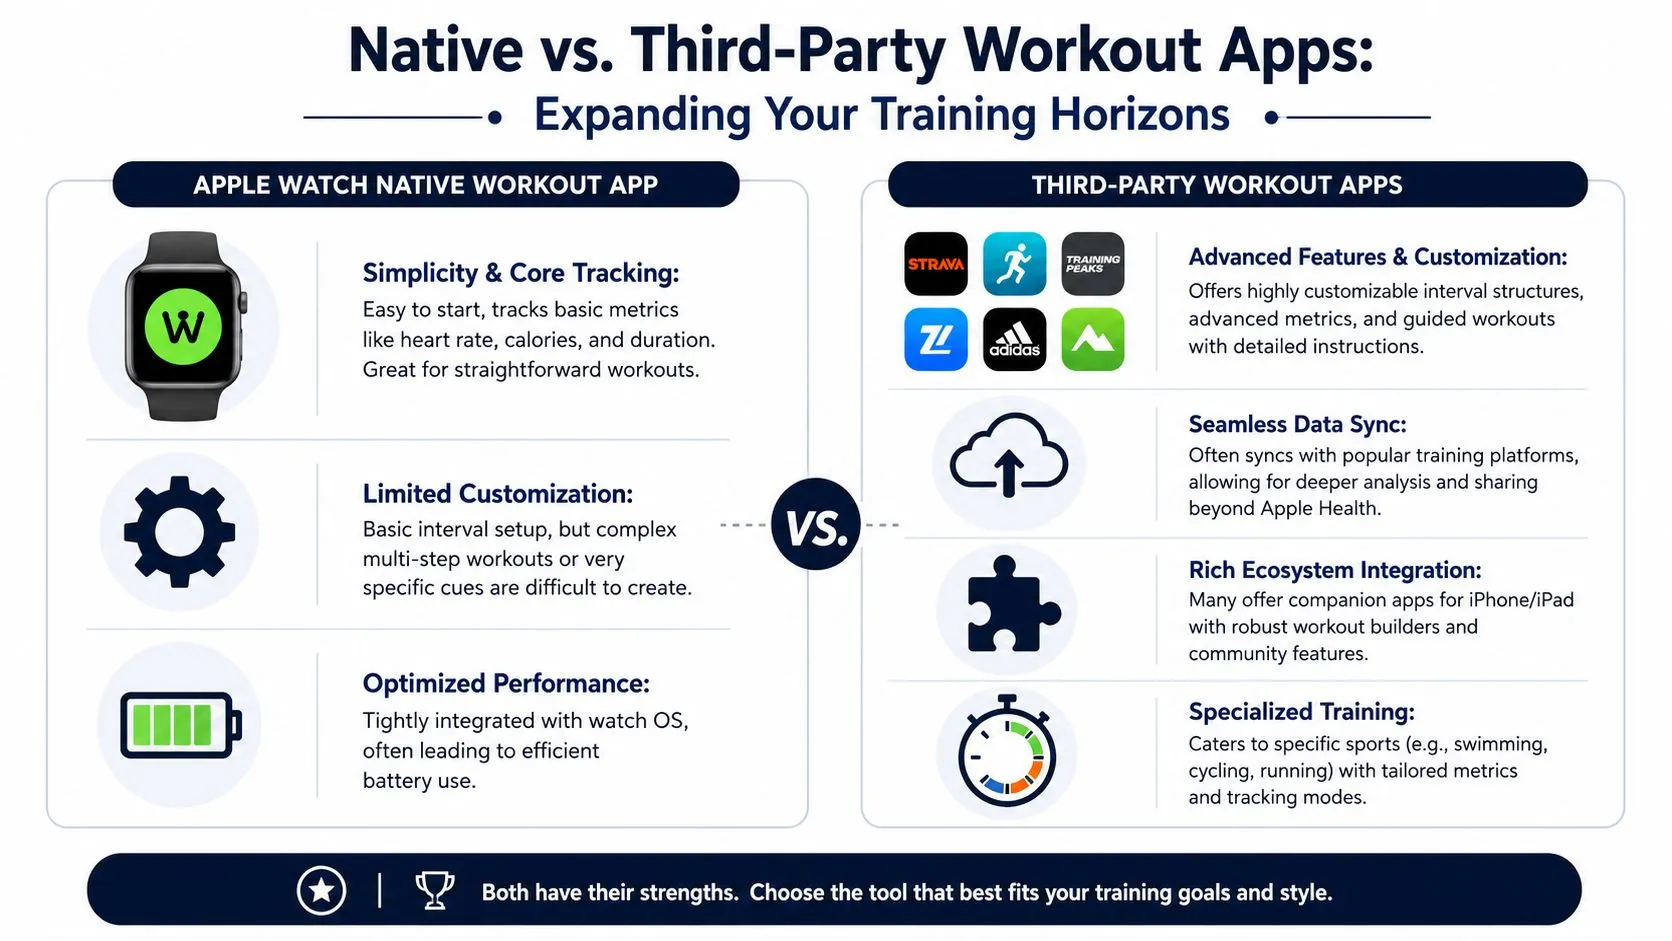
The native app is capable, but it starts to feel cramped once your workouts become more detailed. That’s usually the point where athletes begin looking at tools like Intervals Pro or WorkOutDoors. Not because the Apple Watch can’t record the session, but because building and executing the session becomes easier elsewhere.
When the native app starts to feel cramped
There are a few repeat pain points that push people away from the stock app:
- Complex workout building: Repeating sets and nested structures can become tedious on a small screen.
- Data screen rigidity: Some athletes want tighter control over what appears during each step.
- Cue control: Better audio or clearer interval transitions can matter more than another summary metric.
- Platform workflow: If you already plan sessions elsewhere, rebuilding them manually on the watch gets old fast.
That’s where specialized apps help. Some are better builders. Some are better live workout screens. Some are better bridges between planning and execution.
If you already think in structured sessions rather than casual workouts, it’s also worth seeing how builders in adjacent ecosystems are designed. This look at a Zwift workout builder workflow helps clarify why many athletes eventually want more than a small on-watch editor.
What third-party apps usually do better
Third-party apps tend to improve one or more of these areas:
- Workout creation on a larger screen: Phone or tablet builders are often easier than doing everything on the watch.
- More flexible prompts: Some apps give clearer interval transitions and more obvious step labeling.
- Sport-specific displays: Runners, cyclists, and multisport athletes often want different metrics emphasized.
- Deeper sync options: If your training life extends beyond Apple Health, this matters.
That doesn’t mean third-party is automatically better. Native still wins for simplicity, OS-level integration, and a lower-friction start. If your session is just a clean set of efforts and recoveries, the stock app may be enough.
Workout App Feature Comparison
| Feature | Native Apple Workout App | Third-Party Apps (e.g., Intervals Pro) |
|---|---|---|
| Setup speed for simple workouts | Fast | Usually fast once configured |
| Complex interval design | Basic to moderate | Usually more flexible |
| Data screen customization | Limited | Often stronger |
| Guided cues during workouts | Basic | Often more detailed |
| Apple ecosystem integration | Tight | Varies by app |
| Best fit | Straightforward sessions | Athletes with repeat structured training |
A useful rule is this: if you’re rebuilding the same style of session again and again, or if you dread the setup more than the workout, third-party software is probably justified.
The Pro Workflow with Text-Based Workout Syncing
Serious training breaks the usual builder model quickly. You get a workout from a coach, jot one down in your notes app, or write something like “8 x 400 at 5K pace with jog recovery,” and then you still have to translate that into taps, repeats, targets, and screens. That translation layer is where a lot of friction lives.
Why text beats dragging blocks around
Graphical builders are fine until you use them often. Then the repetition becomes obvious. You aren’t designing a presentation. You’re converting a session description into a structured workout file.
That’s why text-based workflow makes sense. Instead of dragging blocks around, you write the workout the way athletes already describe it. A system parses the reps, recoveries, targets, and structure, then turns it into something executable.
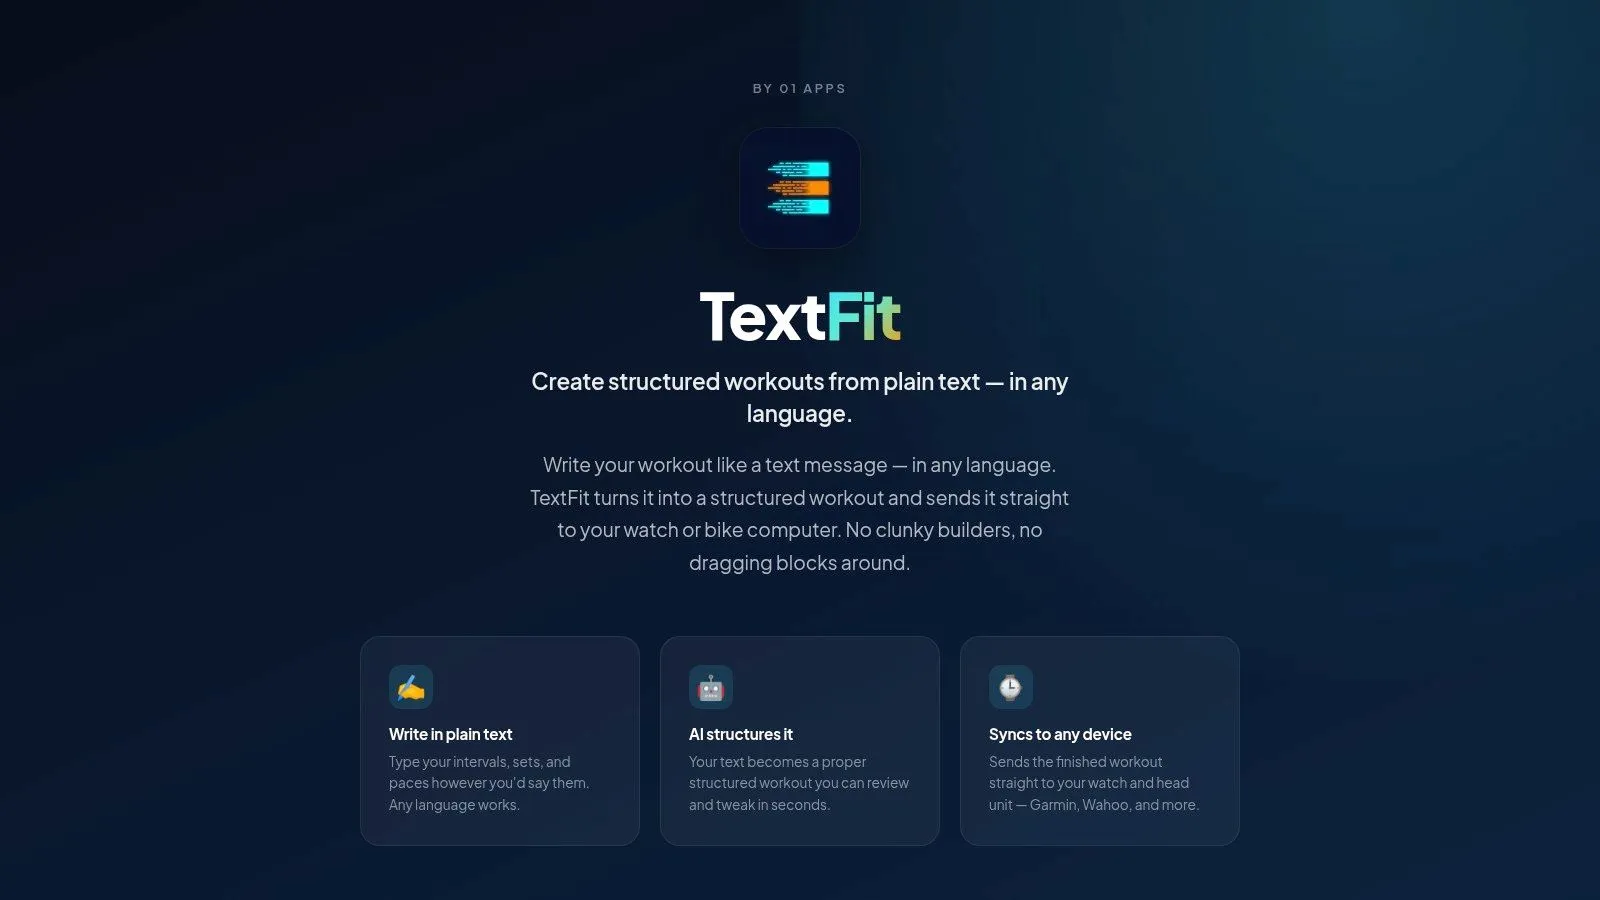
One example is TextFit’s workout plan builder, which turns a plain-language workout description, in any language, into a structured interval session and schedules it on your Apple Watch. No drag-and-drop editor involved.
This approach solves a specific problem. Most structured workouts already exist as language before they exist as buttons. Coach messages, screenshots, training notes, club plans, and personal reminders all start as text. Re-entering them manually is busywork.
What this looks like in practice
A practical text-first workflow usually looks like this:
-
Write the session naturally
Use the language you’d already use in a training note. That keeps the planning side fast.
-
Review the parsed structure
Confirm that the repeats, recoveries, and targets match what you intended.
-
Make light edits if needed
Fix a target, adjust a recovery block, or simplify a step for wrist execution.
-
Send it to your watch
The session moves from planning to execution without rebuilding it from scratch.
A good structured workout tool removes translation work. It doesn’t add another editing chore before training.
This kind of setup is especially useful for coaches, triathletes, and athletes who switch between devices or languages when writing sessions. It also helps on rushed training days. When time is short, the worst part of interval training on Apple Watch is often not the workout itself. It’s the setup tax before you even warm up.
Analyzing Your Performance and Training Load
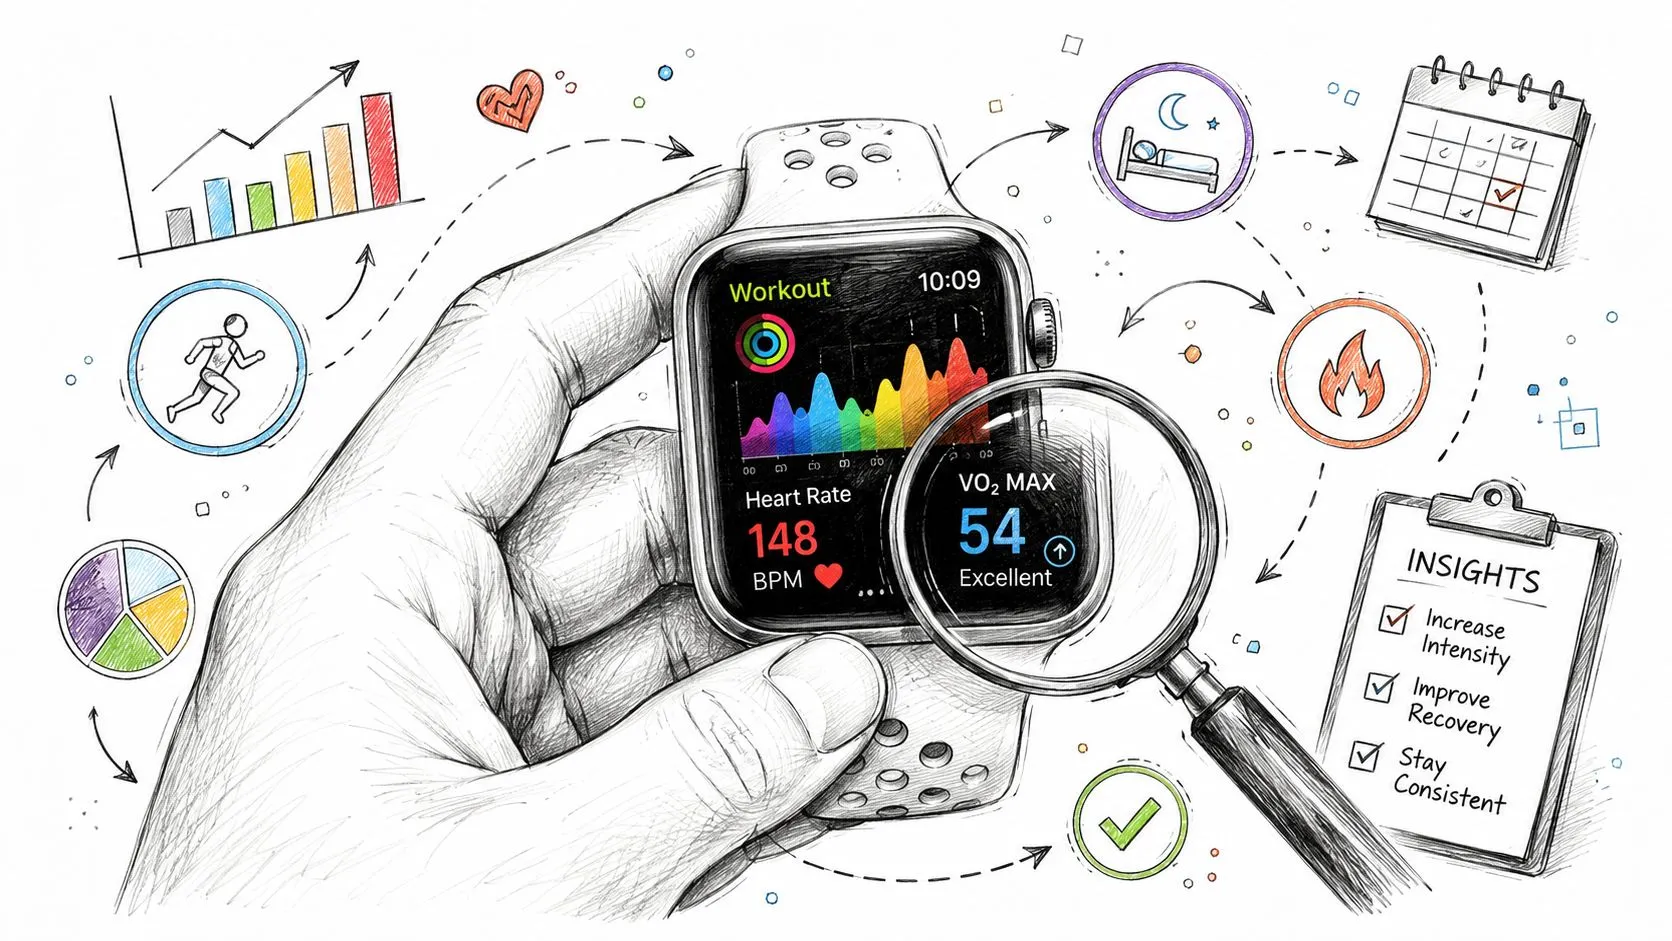
Completing the session is only half the job. The useful part comes after, when you look at whether the workout matched the intent. On Apple Watch, that usually means checking the Fitness app first and then using the Health app if you want a broader look at trends.
What to review after the session
For interval sessions, I’d focus on consistency before anything else. Did the hard reps stay controlled? Did recoveries recover you? Did the pacing drift badly by the end?
A quick post-workout review should include:
- Heart rate response: Look for whether effort rose as expected during work blocks and settled during recovery.
- Split behavior: Check if your later reps stayed close in quality to the early ones.
- Recovery feel versus data: If the workout felt brutal but the numbers looked ordinary, that matters.
How to use Training Load without overthinking it
With watchOS 11, Apple added Training Load, which compares your recent 7-day training volume against a 28-day longer-term trend to help quantify training stress and reduce overtraining risk, as described in this watchOS 11 Training Load explainer.
That’s useful for interval athletes because hard sessions can pile up quickly, especially when you feel good and start adding extra quality days. A shorter-term spike can look manageable in isolation, but the trend view helps you see whether your week is outrunning your baseline.
In practice, use Training Load as a guardrail, not as a dictator. If your interval work is stacking on top of poor sleep, sore legs, or flat performances, the watch’s trend view is a good prompt to back off before the next quality session.
Troubleshooting Common Issues and Pro Tips
Fixing bad classification and shaky starts
One of the stranger Apple Watch annoyances is when the watch labels the session as something other than what you did. That’s especially frustrating if a steady effort gets treated like stop-start work.
A practical correction workflow starts before the main set. The first minute matters. Let the sensor settle into a baseline motion rhythm instead of surging immediately. If you’re on foot, that means easing in instead of launching straight into the first hard effort.
There’s also a more deliberate setup path for classification problems. The method described in this Apple Watch HIIT misclassification article recommends enabling Auto-Pause, using a controlled first minute to establish baseline motion, then locking into a consistent cadence early in the session. It also describes manually editing the workout afterward and repeating that correction across consecutive sessions if the watch keeps labeling the activity incorrectly.
That’s not elegant, but it’s practical. If the watch keeps learning the wrong pattern from your habits, you need to feed it cleaner sessions and cleaner labels.
Dealing with Action Button lag on Apple Watch Ultra
For Apple Watch Ultra users, there’s another issue that rarely gets discussed openly. The Action Button sounds perfect for intervals, but for short reps it can be less precise than people expect.
The problem is simple. If you’re trying to trigger a custom workout right at the moment you want to start, the interface delay can disrupt the first interval. That matters most on short reps, where a second or two changes the feel of the whole block.
A field-tested workaround is to preload the workout screen before the rep starts. Don’t rely on a last-second launch. Get the session open, ready, and visually confirmed before you begin the interval sequence. If the workout is especially timing-sensitive, many athletes prefer a third-party app or an already-running session over an Action Button start.
That frustration is described directly in this Apple Watch Ultra intervals lag write-up, which notes reported startup delay and why that can break short sprint-style timing.
Short intervals expose every bit of interface lag. If timing precision matters, remove as many live interactions as possible before the first rep.
Quick FAQ
Should I use HIIT or a sport-specific custom workout?
Use HIIT when the session is simple and you mainly need timing plus tracking. Use a sport-specific custom workout when pace, cadence, or a planned step sequence matters.
Is the native app enough for serious training?
It can be, especially for athletes who keep workouts simple. Once your sessions become more structured or repetitive to build, third-party tools start making more sense.
Do I need to watch the screen during intervals?
No. That usually makes the session worse. Build around haptics, simple fields, and preplanned steps.
What’s the biggest mistake people make with interval training on Apple Watch?
They try to manage the workout live instead of preparing it before they start. Good interval sessions are front-loaded. The thinking happens before the warm-up.
If you write workouts in plain language and don’t want to rebuild them tap by tap, type them into TextFit instead: “8 x 400 at 5K pace with jog recovery”, in any language. Review the structured session it builds, then schedule it straight to your Apple Watch. Free to start, no sign-up required.